
How To Install A Round Baler Belt
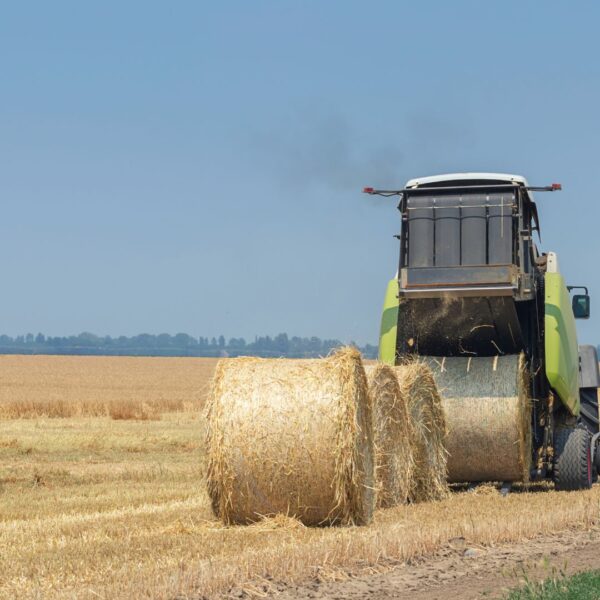
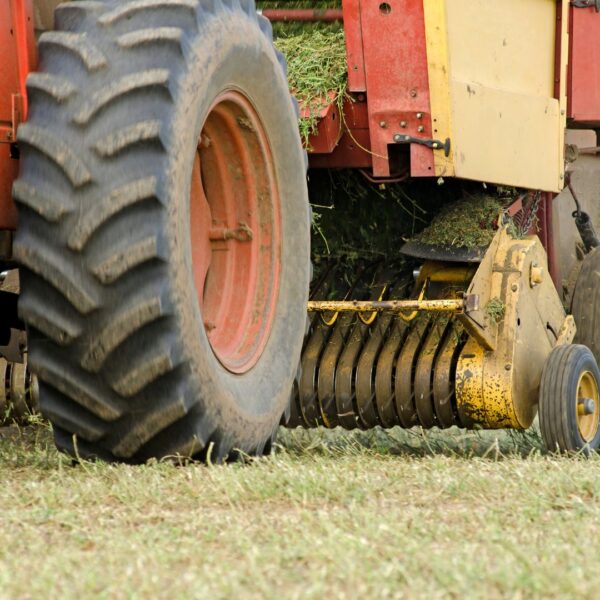
Round baler belts play an important role in the functioning of balers. These belts are responsible for compressing and forming hay, straw, or other agricultural products into compact yet manageable bale sizes. However, installing these belts can be a daunting task, especially for those who are not familiar with baler belts. Belting Headquarters will outline four simple steps in installing a round baler belt.

Step One – Remove Old Belt.
Begin by removing the old belt. Ensure that the baler is turned off, and the power source is disconnected. You may refer to the user manual or seek guidance from an experienced technician.
Step Two – Clean the Baler.
The next step is to clean the baler. Remove debris and dust using a clean cloth. Also, clean the pulleys, bearings, and other components with a gentle detergent solution. Remove any rust or corrosion and replace parts with any visible damage.
Step Three – Install Belting.
Match the new belt with the old one to ensure they are the same size. Begin by feeding one end of the belt through the rollers, tucking it into place, and feeding it back to the other side. Make sure to keep the belt aligned and centered.

Step Four – Tension and Trimming.
Once the belt has been installed correctly, check the tension, and trim any excess length of the belt. Ensure that the tension is not too tight nor too loose, as both can cause problems.
Installing a round baler belt is not as daunting as it might seem with proper guidance and tools. Moreover, ensuring the baler is clean and in good condition can increase the lifespan of the baler belts. If you need quality baler belts for sale or want to consult professionals for baler belt installation, visit us at Belting Headquarters or call: tel: 888-503-7320.