
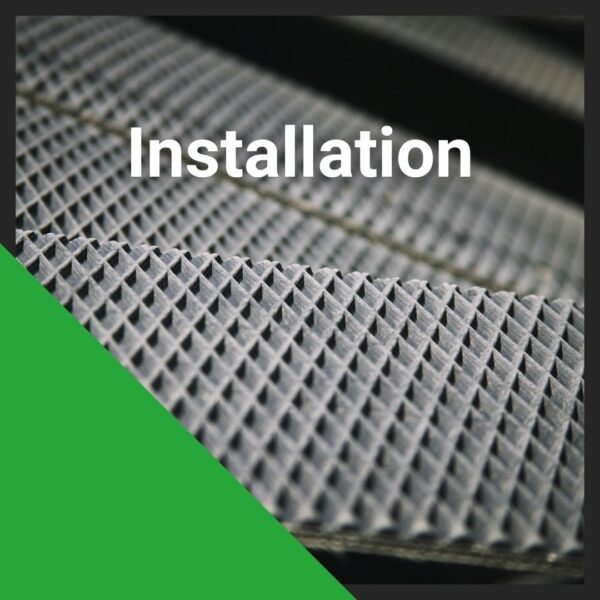
How to Install Your New Baler Belts: A Step-by-Step Guide
Installing new baler belts can seem overwhelming but with a systematic approach, your equipment will run smoothly in no time. At Belting Headquarters, we understand the importance of quality replacement baler belts and are committed to helping you every step of the way. Let’s dive into the process!

Preparation
Before starting your baler belt installation, ensure your equipment is in a safe environment. Turn off the baler and disconnect the power source. Level the ground to prevent any accidents. Next, carefully remove the old belts. Use the appropriate tools to take off fasteners, and don’t forget to clear any debris from the belt path and pulleys. Take a moment to inspect the pulleys for damage and replace them if necessary.
Baler Belt Installation
Start by unpacking your replacement baler belts and orienting them correctly according to the manufacturer’s guidelines. Loop the new belts around the pulleys, ensuring they follow the same path as the old belts. Pay close attention to seating—the belts should fit snugly in the grooves of the pulleys for optimal performance.

Securing and Aligning
With your belts in place, it’s crucial to secure them properly. Attach any fasteners according to the specifications provided. Be careful not to overtighten, as this can lead to premature wear. Once secured, spin the pulleys to check for proper alignment; this ensures the belts run smoothly and efficiently.

Final Steps
Once you’ve confirmed that everything is positioned correctly, reconnect the power source. Before running the baler at full speed, conduct a low-speed test to monitor the functionality of your new baler belts. Listen for unusual sounds and make adjustments if needed.
By following these steps from Belting Headquarters, you can confidently install your new baler belts. Ready to get started? Explore our wide selection of replacement baler belts today, and experience the difference in quality.